OBSOLETE
MailChimp Module allows a full synchronization with MailChimp Email Marketing software. MailChimp module uses the MailChimp API to synchronize contacts, organizations or leads.
Features & Benefits
- Synchronize Contacts in MailChimp Lists with MailChimp Campaigns in the application to keep one store of information
- Synchronize subscription and unsubscribe requests to your lists and keep you covered under the data protection act
- Allows using MailChimp as the email marketing software for newsletters and the CRM as the store of contacts
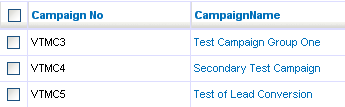
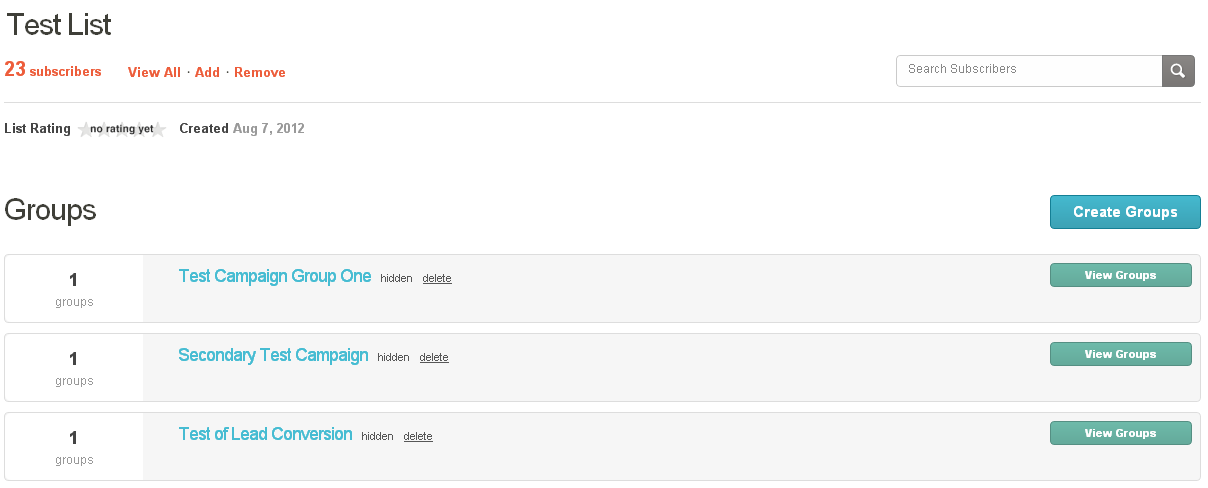
- All the Mailchimp Campaigns that you create in the CRM will be synchronized to one list only on Mailchimp but separated in different groups, so no extras fees with Mailchimp


How to Install & Setup?
Installation of MailChimp module is same as any other module.
- Download the file
- Go to Settings > Module Manager
- Click Custom Modules and Click "Import New"
- Click "Browse" and give the location of the file that you downloaded
- Click "Import" and then on the next screen select "Yes"
This will install the module in the marketing menu. You can access it by going to Marketing > MailChimp. In order to use it you need an "API key" and a "MailChimp List ID" from MailChimp for your account.

API key
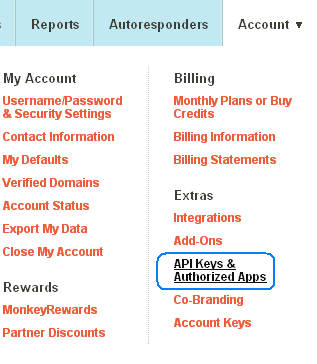
- Log in to your account on MailChimp and click Account > API Keys & Info and Click "Add a Key".
- Copy the Key and go to your Settings > Module Manager.
- Click on Custom Modules and click MailChimp Settings (Hammer sign in front of MailChimp Module)
- Click on the MailChimp Settings icon and paste the API Key
MailChimp List ID
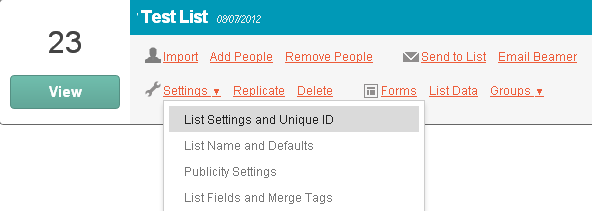
- Log in to your account on MailChimp and click Lists > Settings > List Settings and Unique ID
- Copy the "Unique Id For List VTiger Test List" which is in the bottom of the page and paste it in the field provided then Save
Notes
- Changing the email address of the contact in the application will create a new contact in both applications after the synchronization.