Configuration
The OneSignal configuration is really simple.
-
Create an account on OneSignal site. Go to the login page, click on "Sign Up" and follow the steps
-
Create an App, for example, "coreBOS", select WebPush
-
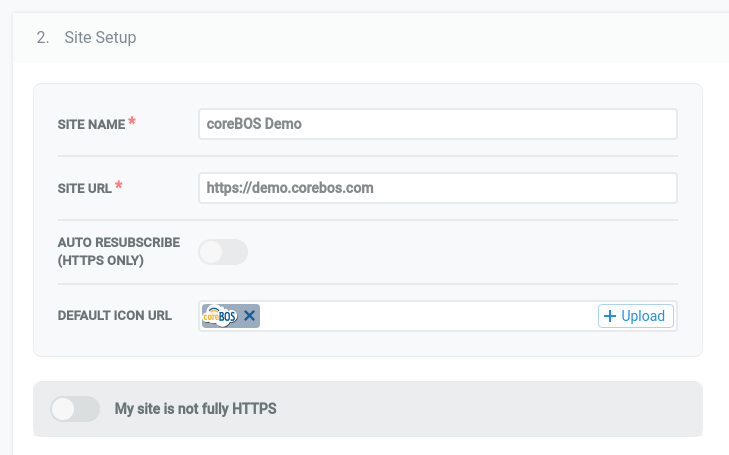
Site Name: set it to a name that identifies your install, this will usually be the name you have set in your coreBOS
-
Site URL: the URL of your coreBOS install (must be publically accessible)
-
Upload an icon
-
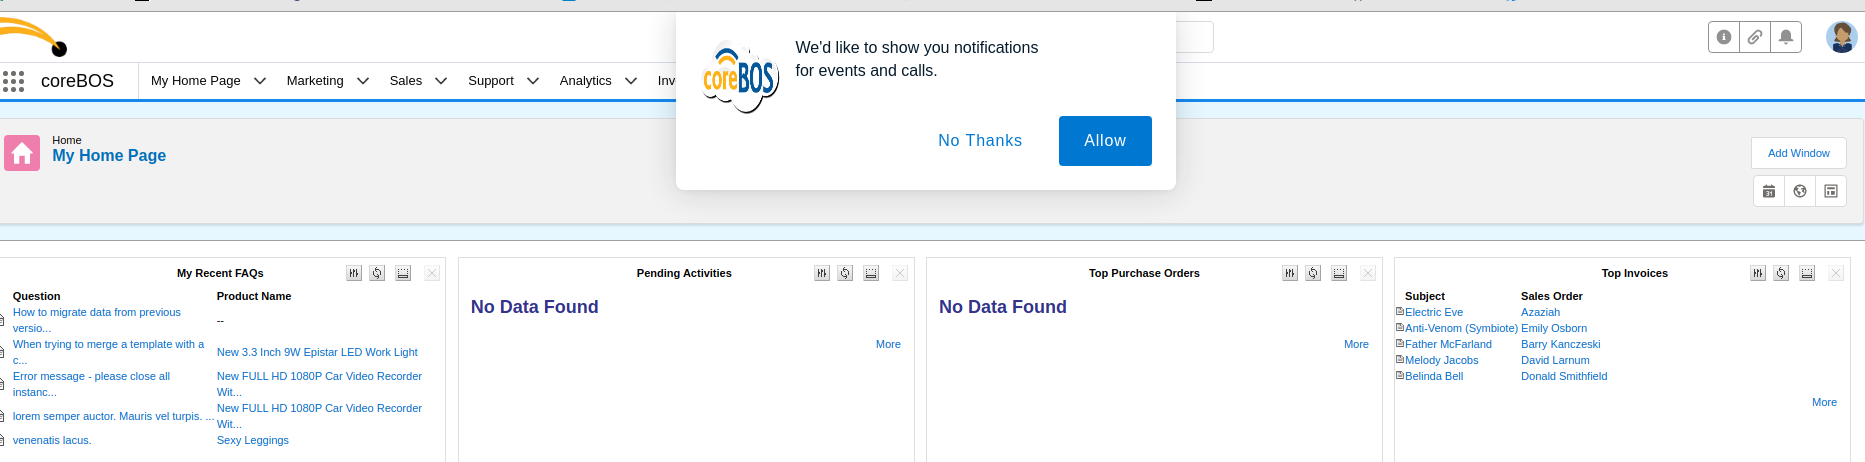
Configure the initial permission prompt. All users MUST accept that we send them notifications. The first time a user access coreBOS with OneSignal active, the permission prompt will appear. If they do not accept that we send them notifications, we will not be able to do so.

-
Configure a welcome notification. This is not mandatory but it is good practice and validates that the authorization went correctly.
-
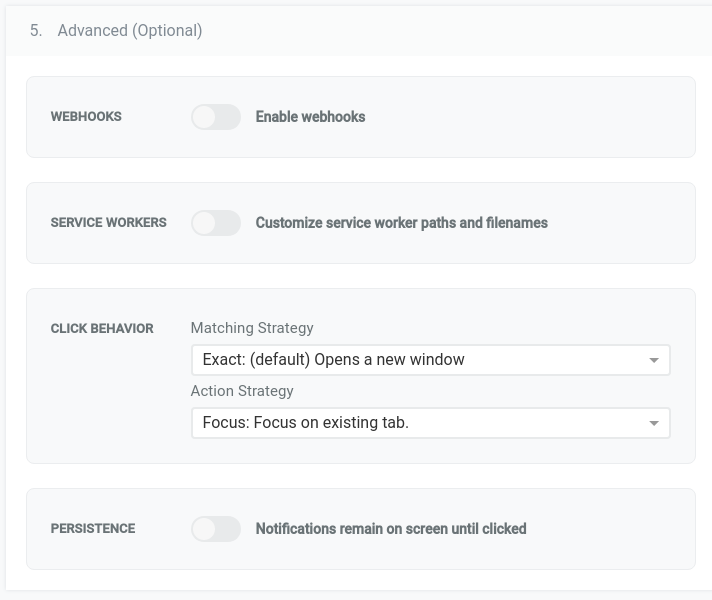
Leave the Webhooks, Click Behavior, and Persistence in the advanced options at their default
-
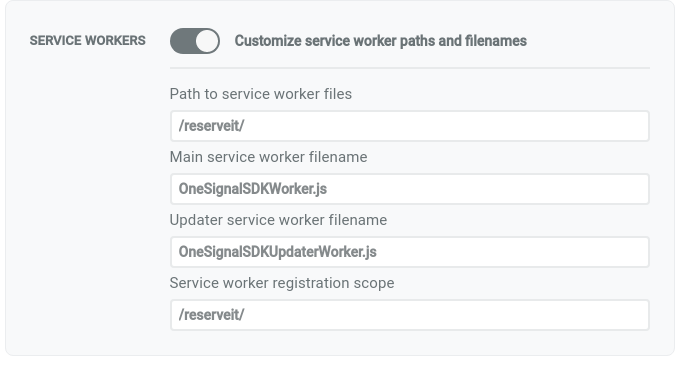
The advanced options Service Workers settings may need modifications. If your coreBOS has its' own domain, which is the one you entered in Site URL above, then you can leave this option unchecked. If your coreBOS is installed in a subdirectory then you must check this option and set the name of the directory. Supposing that the coreBOS we are configuring is in a subdirectory named "reserveit", then our settings will look like this:
-
Go to Keys & IDs: copy them into coreBOS settings (index.php?action=integration&module=Utilities&_op=getconfigonesignal) and activate the integration
-
The next time a user logs in he will see the authorization notification
-
From this point on coreBOS can send notifications to this user
You can use the Test button that will appear once you have saved the
API key and ID to verify that the integration is working. It will send a
notification with a test message.

Links
Next | Chapter 4: Integración vtigerCRM y wordpress e-commerce plugin